
React Native SDK
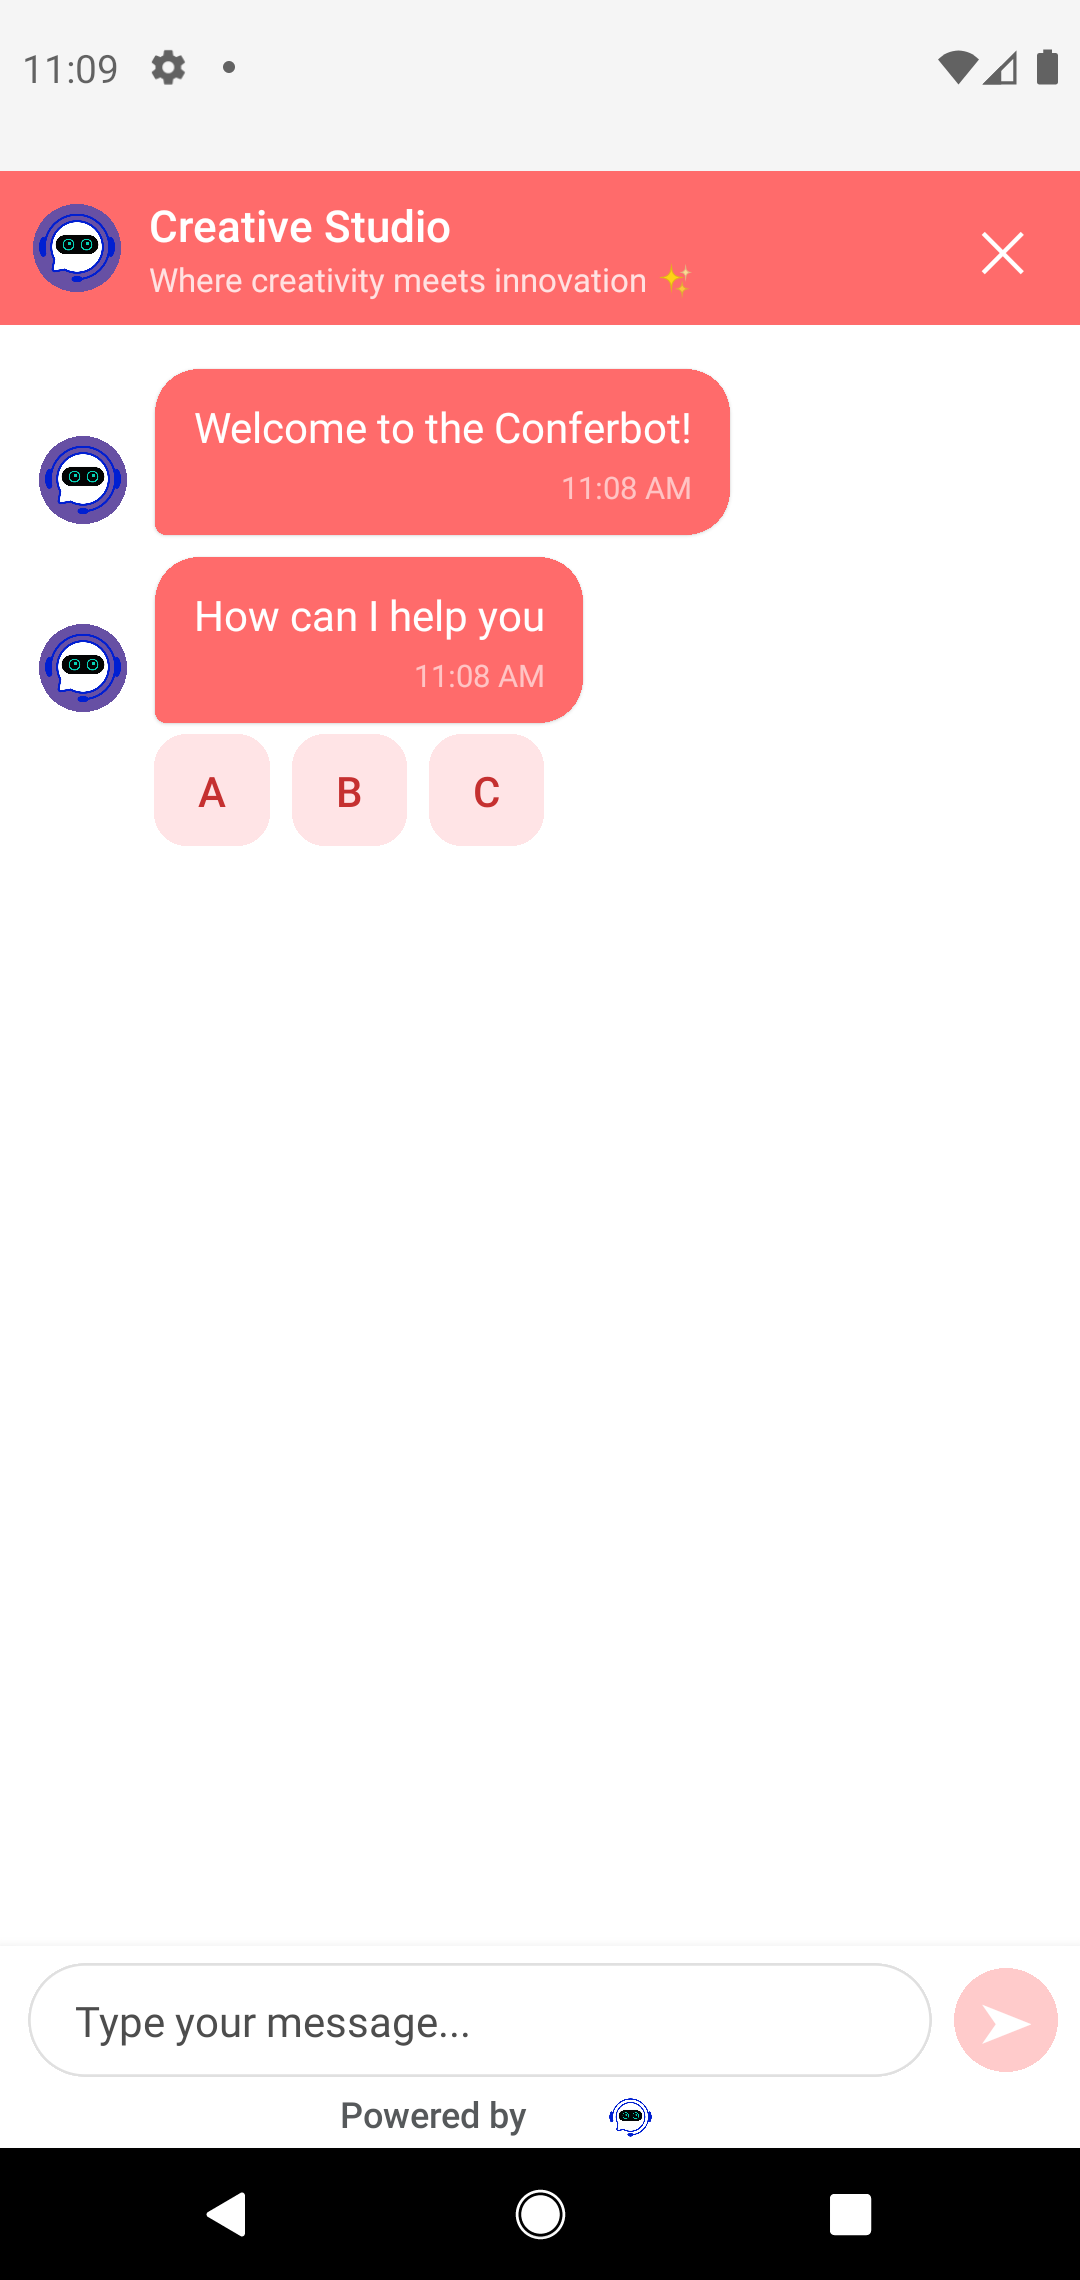
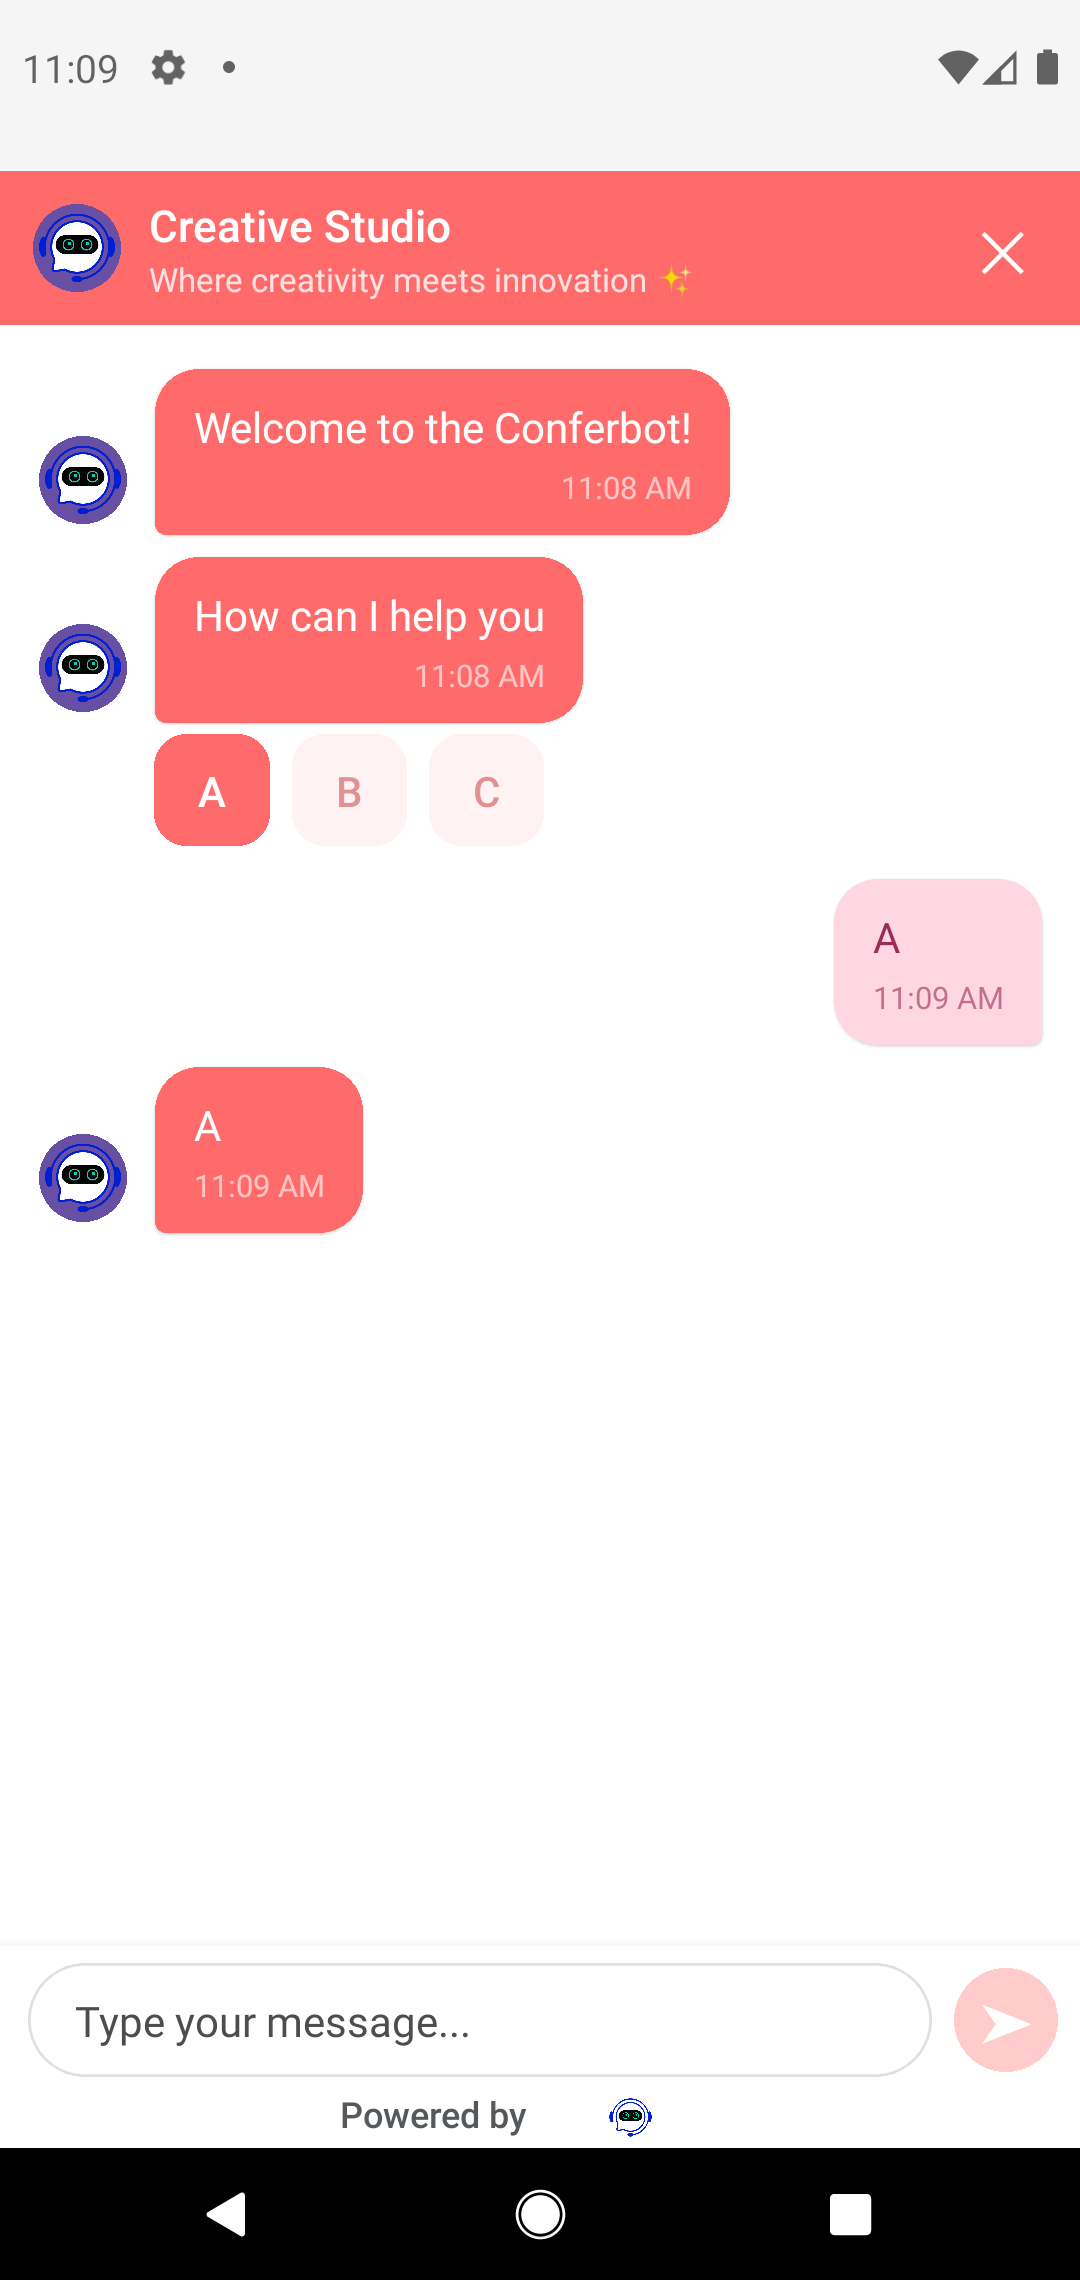
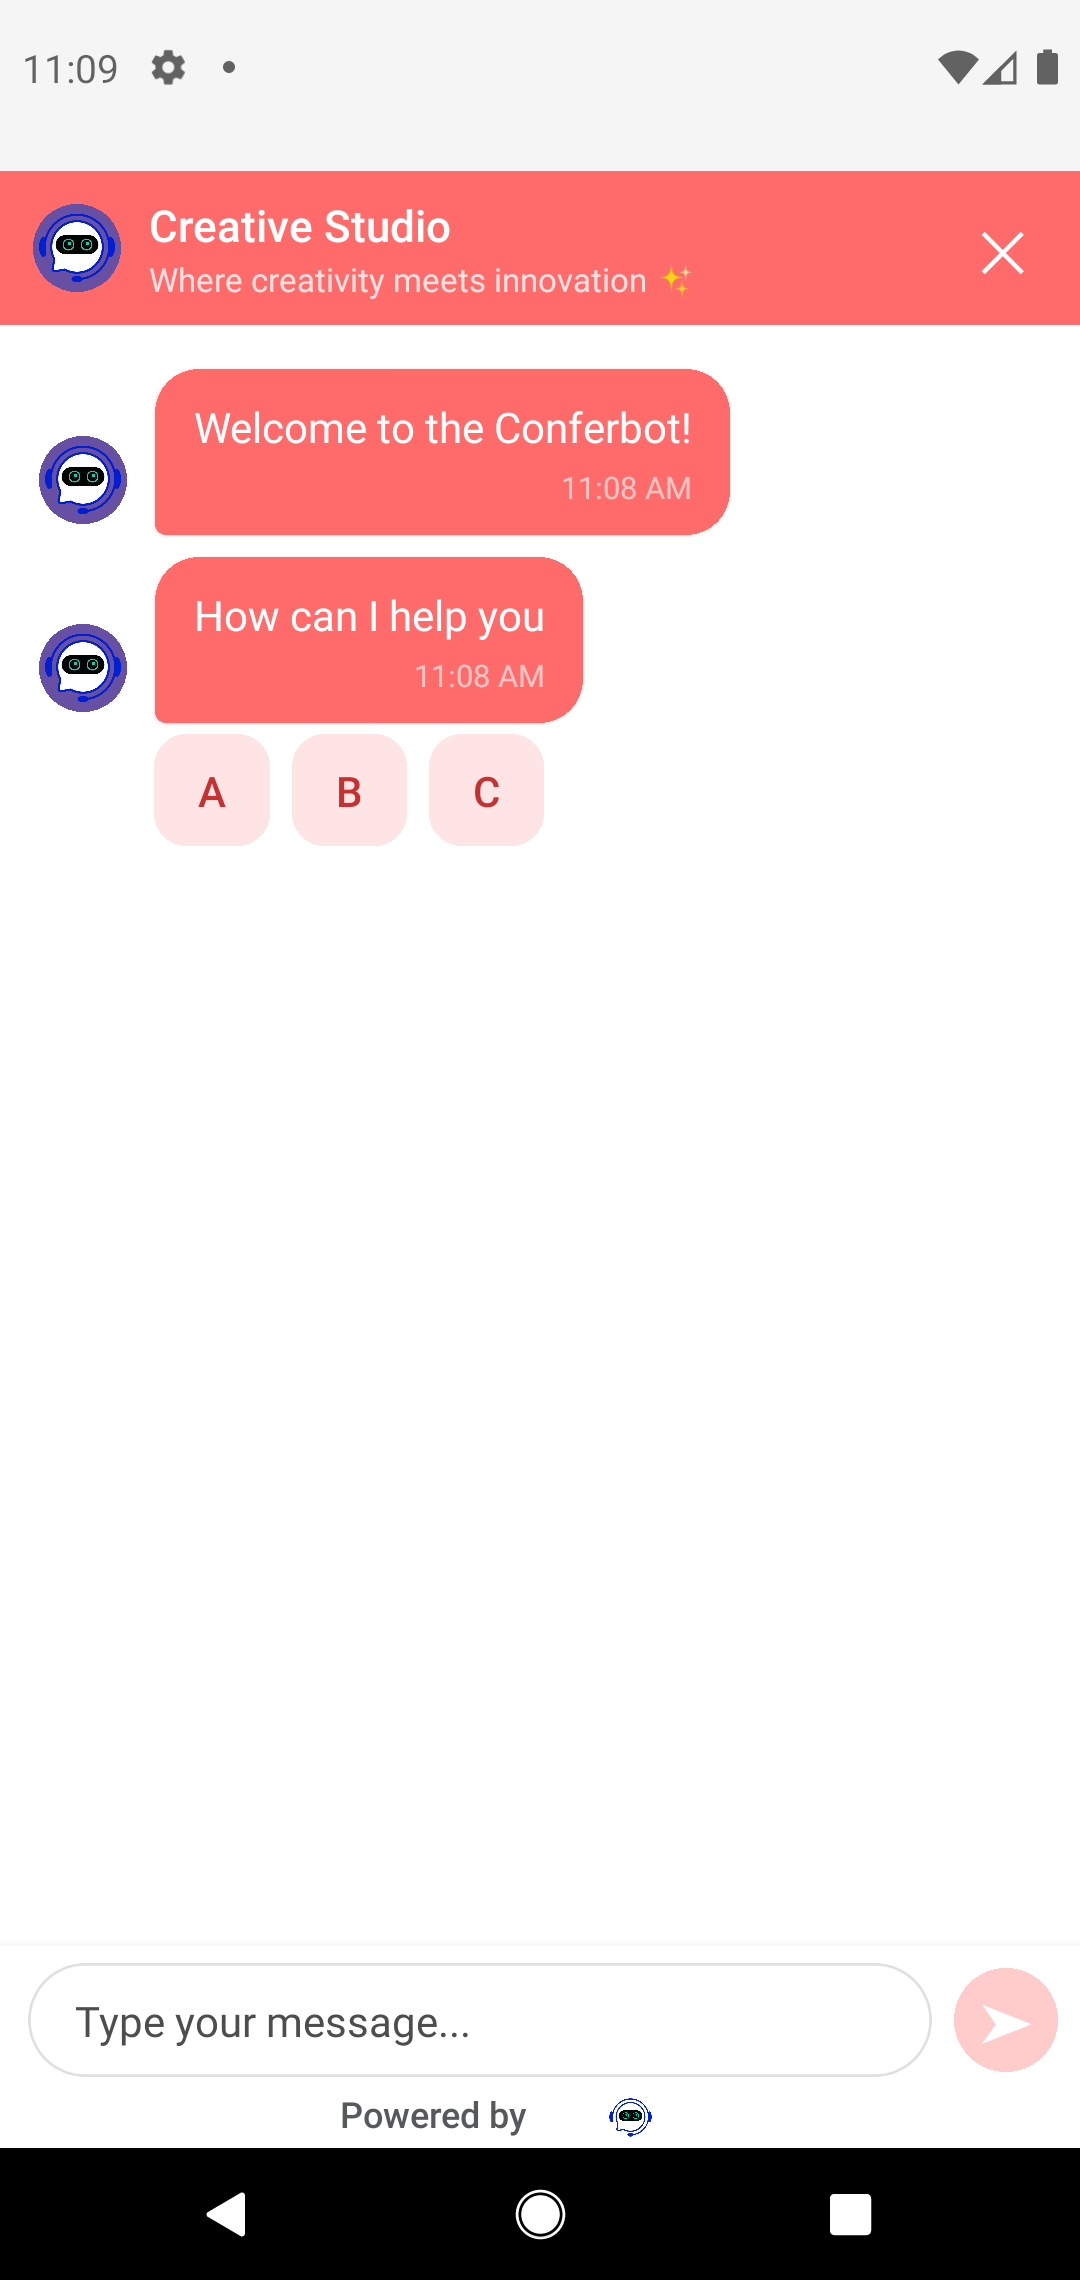
Pure-TypeScript SDK that embeds the full Conferbot chat experience in your iOS and Android app - built entirely with React Native views, no WebView, no native linking step. It ships the same floating chat bubble as the web widget, renders every flow-builder node natively, applies your dashboard theming automatically, and adds live agent handover, offline queueing, session persistence, and push token registration. Published on npm as @conferbot/react-native.
Requirements
| Dependency | Minimum Version |
|---|---|
| React | 17.0.0 |
| React Native | 0.70.0 |
| iOS | 12.0+ |
| Android | API 21+ |
Bare React Native and Expo (with a dev client) both work. The SDK itself has no native code, so there is no Expo config plugin to set up - only the optional native peer dependencies below need a rebuild.
Installation
npm install @conferbot/react-native
# or
yarn add @conferbot/react-native
The SDK is pure TypeScript - it has no native code of its own, so there is no linking step for the SDK package. Its runtime dependencies (axios, socket.io-client) are installed automatically.
Optional peer dependencies
Two peer dependencies are optional but unlock features:
# Session persistence + offline message queue
npm install @react-native-async-storage/async-storage

# Crisper vector icons in some components
npm install react-native-svg
Both are native modules, so after installing them run the usual native steps and rebuild the app:
cd ios && pod install && cd ..AsyncStorage is optional
Without @react-native-async-storage/async-storage the SDK still works - session persistence and the offline queue are simply disabled.
Initialization
Wrap your app in ConferBotProvider. It manages the socket, session, persistence, and all chat state for every component and hook below it:
import React from 'react';
import { SafeAreaView, Text } from 'react-native';
import { ConferBotProvider, ConferBotWidget } from '@conferbot/react-native';

export default function App() {
  return (
    <ConferBotProvider apiKey="conf_test_key" botId="YOUR_BOT_ID">
      <SafeAreaView style={{ flex: 1 }}>
        <Text>Your app content</Text>
        <ConferBotWidget />
      </SafeAreaView>
    </ConferBotProvider>
  );
}
On mount the provider connects to https://wdt.conferbot.com over Socket.IO, fetches the bot flow and dashboard customizations, and the bubble renders with your configured color, icon, position, and CTA tooltip.
Credentials
The bot ID is the real credential - the 24-character hex ID from Bot Settings > General in the Conferbot Dashboard. The apiKey parameter is only validated locally by the SDK - any placeholder in the conf_ format works (for example conf_test_key). It is not your management REST API key; never paste that here. Make sure the bot is published - draft flows are not served to the SDK.
Try it without an account
The public demo bot ID 691c970890527a0468f9b2c9 works without a Conferbot account - drop it into any snippet on this page (with a placeholder API key such as conf_test_key) to evaluate the SDK immediately.
Separate from the REST API
The SDK talks to the widget delivery service at https://wdt.conferbot.com (REST + Socket.IO). This is a different product from the management REST API at api-v2.conferbot.com - the SDK does not use x-api-key headers and does not consume API quota.
Provider configuration
The optional config prop tunes connection, persistence, offline, and read-receipt behavior:
import AsyncStorage from '@react-native-async-storage/async-storage';

<ConferBotProvider
  apiKey="conf_test_key"
  botId="YOUR_BOT_ID"
  config={{
    enableNotifications: true,
    enableOfflineMode: true,
    enablePersistence: true,
    asyncStorage: AsyncStorage,
    enableReadReceipts: true,
    autoConnect: true,
    reconnectionAttempts: 5,
    reconnectionDelay: 3000,
  }}
>
  {children}
</ConferBotProvider>| Option | Type | Description |
|---|---|---|
enableNotifications | boolean | Enable push notification support |
enableOfflineMode | boolean | Queue outbound messages while offline |
autoConnect | boolean | Connect the socket on mount |
reconnectionAttempts | number | Max socket reconnection attempts |
reconnectionDelay | number | Delay between reconnection attempts (ms) |
enablePersistence | boolean | Persist sessions across app restarts (default true when asyncStorage is provided) |
asyncStorage | AsyncStorageInterface | AsyncStorage instance for persistence and the offline queue |
persistenceConfig | PersistenceConfig | maxMessages, keyPrefix, enabled, sessionExpiryMs |
enableReadReceipts | boolean | Read receipt tracking (default: true) |
readReceiptConfig | ReadReceiptConfig | enabled, showIndicators, batchDebounceMs, autoMarkAsRead |
offlineQueueConfig | OfflineQueueConfig | maxQueueSize, maxRetries, retry backoff, persistQueue, autoProcess |
Floating Widget (FAB)
ConferBotWidget renders a floating chat bubble in the bottom-right corner, exactly like the Conferbot web widget. Tapping it opens the full chat modal. Overlay it on top of your existing screen - it positions itself absolutely. The bubble reads your dashboard settings automatically: FAB color (solid, or gradient falling back to solid), icon, size, position (left/right), offsets, border radius, and the CTA tooltip text shown next to the bubble. You do not need to write any styling code to match your web widget.
Every setting can be overridden locally through widgetConfig. The resolution order is: local prop > server dashboard setting > SDK default - anything you set explicitly wins. Leave widgetConfig empty to stay fully server-driven, so marketing can restyle the bubble from the dashboard without an app release.
<ConferBotWidget
  title="Support Chat"
  placeholder="Type your message..."
  showTimestamps={true}
  widgetConfig={{
    position: 'right',        // 'left' | 'right'
    offsetX: 16,              // px from edge
    offsetBottom: 24,         // px from bottom
    size: 56,                 // FAB diameter
    borderRadius: 28,         // defaults to size / 2 (circular)
    backgroundColor: '#1b55f3',
    themeType: 'solid',       // 'solid' | 'gradient'
    iconName: 'WidgetBubbleIcon1', // web-widget icon names
    iconImageUrl: undefined,  // custom image overrides SVG icon
    iconColor: '#ffffff',
    iconScale: 0.6,           // icon size relative to the button
    ctaText: 'Chat with us!', // tooltip beside the bubble
    showCta: true,
    showShadow: true,
  }}
/>
ConferBotWidgetProps extends ChatWidgetProps, so anything the chat modal accepts (title, placeholder, enableAttachments, enableVoiceMessage, showTimestamps, closeOnBackdrop, ...) can be passed straight through. Two platform notes:
- React Native cannot render CSS gradients natively; a gradient theme from the dashboard falls back to the solid background color.
- The chat itself opens in a full-screen
Modal(slide animation), matching mobile UX rather than the web popover.
Opening Chat Programmatically
Drop-in ChatWidget
Render the full chat UI directly - it opens as a modal and auto-opens on first mount. Control visibility yourself with visible and onClose:
import React, { useState } from 'react';
import { Button } from 'react-native';
import { ConferBotProvider, ChatWidget } from '@conferbot/react-native';

function Support() {
  const [open, setOpen] = useState(false);

  return (
    <>
      <Button title="Need help?" onPress={() => setOpen(true)} />
      <ChatWidget visible={open} onClose={() => setOpen(false)} />
    </>
  );
}
Other ChatWidget props: title, placeholder, enableAttachments, enableVoiceMessage, showTimestamps, closeOnBackdrop, typingDelay, voiceMaxDuration, voiceMinDuration, debug, testID.
Headless with useConferBot()
For full control over the UI, the useConferBot() hook exposes connection state, the message record, and all actions:
import React from 'react';
import { View, Text, Button, FlatList } from 'react-native';
import { ConferBotProvider, useConferBot } from '@conferbot/react-native';

function ChatScreen() {
  const { sendMessage, record, isConnected, openChat, closeChat } = useConferBot();

  return (
    <View style={{ flex: 1 }}>
      <Text>{isConnected ? 'Connected' : 'Connecting...'}</Text>
      <FlatList
        data={record}
        keyExtractor={(item) => String(item._id)}
        renderItem={({ item }) => <Text>{'text' in item ? item.text : item.type}</Text>}
      />
      <Button title="Send Hello" onPress={() => sendMessage('Hello!')} />
    </View>
  );
}

export default function App() {
  return (
    <ConferBotProvider apiKey="conf_test_key" botId="YOUR_BOT_ID">
      <ChatScreen />
    </ConferBotProvider>
  );
}
The hook also drives interactive flow nodes: currentUIState describes the node currently awaiting input (or null), submitNodeResponse(response, portName?) answers it, isNodeProcessing is true while the flow engine works, and NodeRenderer renders any node type if you do not want to draw custom node UIs.
Mix and match components
Compose the pre-built components inside your own layout - ChatHeader, ConnectionStatus, MessageList, ChatInput, plus building blocks like MessageBubble, Avatar, TypingIndicator, EmptyState, OfflineBanner, MessageStatusIndicator, ReactionPicker, MessageReactions, LinkPreview, EmojiPicker, and NodeRenderer:
import {
  useConferBot,
  MessageList,
  ChatInput,
  ChatHeader,
  ConnectionStatus,
} from '@conferbot/react-native';

function CustomChat() {
  const { record, sendMessage, currentAgent, isConnected } = useConferBot();

  return (
    <View style={{ flex: 1 }}>
      <ChatHeader title="Support" agent={currentAgent} />
      <ConnectionStatus variant="badge" />
      <MessageList messages={record} />
      <ChatInput onSend={sendMessage} disabled={!isConnected} />
    </View>
  );
}
User Identification
Pass a ConferBotUser so conversations and answer variables are attributed to a known user instead of an anonymous visitor. id is required; name, email, phone, and metadata are optional:
<ConferBotProvider
  apiKey="conf_test_key"
  botId="YOUR_BOT_ID"
  user={{
    id: 'user_123',            // required
    name: 'Jane Doe',
    email: '[email protected]',
    phone: '+15551234567',
    metadata: { plan: 'pro', signupDate: '2026-01-15' },
  }}
>
  {children}
</ConferBotProvider>
With persistence enabled, the identified user is stored locally (PersistedUser) so returning visitors resume their session. To wipe local state on logout:
const { clearPersistedData, resetConversation } = useConferBot();
await clearPersistedData();   // remove stored session/user
await resetConversation();    // start a fresh conversation
Theming
Server customizations apply automatically
Everything you configure in the Conferbot dashboard (Widget Customization / flow builder) is fetched at connect time and applied to the built-in chat UI without any code:
- Colors: header background/text, bot bubble, user bubble, option bubble, chat background, base font size
- Identity: bot name in the header (server
botNamewins over the localtitleprop), avatar image, tagline - Floating bubble: FAB color or gradient, icon (SVG name or custom image), size, position, offsets, border radius, CTA text
Precedence - how merging works
- Floating bubble (
ConferBotWidget): localwidgetConfigprops > server dashboard values > SDK defaults. Anything you set explicitly wins over server values. - Chat UI inside
ChatWidget: the widget wraps its content in an internalThemeProviderseeded with the server theme override, merged over the SDK's default theme. Server dashboard colors therefore win over a localThemeProviderfor the drop-in chat modal - the dashboard is the single source of truth for the branded widget, matching web behavior. If your dashboard has no customizations, the default light theme is used. - Components you compose yourself (
MessageList,ChatHeader, ... in a custom layout): styled by the nearestThemeProvideryou provide - fully under your control. - The
customizationprop onConferBotProvideris accepted for forward compatibility but is not applied to the built-in UI in v1.1.0. Use dashboard customizations orThemeProviderinstead.
Local themes for custom layouts
The SDK ships defaultTheme (light) and darkTheme. ThemeProvider deep-merges the given ConferBotThemeOverride over defaultTheme, so partial overrides are fine:
import { ThemeProvider, darkTheme } from '@conferbot/react-native';

// Built-in dark theme
<ThemeProvider theme={darkTheme}>
  <CustomChat />
</ThemeProvider>

// Partial override - deep-merged over defaultTheme
<ThemeProvider
  theme={{
    colors: {
      primary: '#4F46E5',
      userBubble: '#4F46E5',
      botBubble: '#F3F4F6',
    },
    borderRadius: { bubble: 12 },
  }}
>
  <CustomChat />
</ThemeProvider>
Read the active theme in your own components with useTheme(). The full token set (colors, typography, spacing, borderRadius, shadows, animations, layout) is defined in the ConferBotTheme type. To reuse the exact server colors in a custom UI, they are exposed on the context:
const { serverThemeOverride, botName, botAvatarUrl } = useConferBot();

<ThemeProvider theme={serverThemeOverride ?? undefined}>
  <CustomChat />
</ThemeProvider>
Live Agent Handover
When a human agent joins the conversation, the SDK handles the transition seamlessly - inside the drop-in widget the header switches to the agent's name and avatar and typing indicators show agent activity. In custom UIs, the handover state lives on the context: isLiveChatMode, currentAgent (an Agent, or undefined), and agentTyping all re-render your components automatically. Emit the visitor's own typing status with sendVisitorTyping(isTyping).
For lower-level control, subscribe to raw socket events with on() - it returns an unsubscribe function. Event names come from the SocketEvents enum; the values are kebab-case strings ('bot-response', not 'bot_response'):
import { useEffect } from 'react';
import { useConferBot, SocketEvents } from '@conferbot/react-native';

function ChatEventLogger() {
  const { on } = useConferBot();

  useEffect(() => {
    const subs = [
      on(SocketEvents.BOT_RESPONSE, (data) => console.log('bot:', data)),
      on(SocketEvents.AGENT_ACCEPTED, ({ agentDetails }) =>
        console.log('agent joined:', agentDetails.name)
      ),
      on(SocketEvents.AGENT_MESSAGE, (data) => console.log('agent msg:', data)),
      on(SocketEvents.CHAT_ENDED, () => console.log('chat ended')),
      on(SocketEvents.CONNECTION_ERROR, (err) => console.warn('socket error', err)),
    ];
    return () => subs.forEach((unsub) => unsub());
  }, [on]);

  return null;
}
Key server events: BOT_RESPONSE, AGENT_MESSAGE, AGENT_ACCEPTED, AGENT_LEFT, AGENT_TYPING_STATUS, CHAT_ENDED, CONNECTION_ERROR.
Offline & Persistence
Both features require the optional AsyncStorage peer dependency passed as config.asyncStorage. Persistence keeps chat history across app restarts; offline mode queues outbound messages locally, persists the queue, and retries with exponential backoff once connectivity returns:
import AsyncStorage from '@react-native-async-storage/async-storage';

<ConferBotProvider
  apiKey="conf_test_key"
  botId="YOUR_BOT_ID"
  config={{
    // Persistence - chat history survives app restarts
    enablePersistence: true,          // default true when asyncStorage is provided
    asyncStorage: AsyncStorage,
    persistenceConfig: {
      maxMessages: 100,               // default 100
      sessionExpiryMs: 7 * 24 * 60 * 60 * 1000, // default 7 days
      keyPrefix: '@conferbot',        // storage namespace
    },

    // Offline queue - outbound messages retry automatically
    enableOfflineMode: true,
    offlineQueueConfig: {
      maxQueueSize: 50,
      maxRetries: 5,
      initialRetryDelay: 1000,
      maxRetryDelay: 30000,
      backoffMultiplier: 2,
      persistQueue: true,
      autoProcess: true,
    },
  }}
>
  {children}
</ConferBotProvider>
Inside the drop-in widget, offline state is surfaced for you. In custom UIs, use the context and the ready-made components:
import { useConferBot, OfflineBanner } from '@conferbot/react-native';

function QueueStatus() {
  const {
    isOnline,
    pendingMessageCount,
    failedMessageCount,
    retryAllFailedMessages,
  } = useConferBot();

  if (isOnline && failedMessageCount === 0) return null;

  return (
    <>
      <OfflineBanner isOffline={!isOnline} pendingCount={pendingMessageCount} />
      {failedMessageCount > 0 && (
        <Button
          title={`Retry ${failedMessageCount} failed`}
          onPress={() => retryAllFailedMessages()}
        />
      )}
    </>
  );
}
MessageStatusIndicator shows per-message queued/failed states, and retryFailedMessage(messageId) / clearFailedMessages() give granular queue control. For lower-level access there are useNetworkStatus() (returns isConnected, isInternetReachable, type, refresh()) and useOfflineQueue() (returns queue, queueSize, pendingCount, failedCount, queueMessage, retryAllFailed, processQueue, and more), plus the standalone OfflineQueueService class.
Push Notifications (FCM)
Register a device push token (from Firebase, APNs, or Expo) so the visitor can receive messages while the app is backgrounded. The SDK detects the platform automatically and posts the token to the Conferbot mobile API. Obtaining the token itself (e.g. via @react-native-firebase/messaging) and displaying notifications remain your app's job - the SDK only registers the token with Conferbot.
import { useEffect } from 'react';
import messaging from '@react-native-firebase/messaging';
import { useConferBot } from '@conferbot/react-native';

function PushRegistration() {
  const { registerPushToken, isInitialized } = useConferBot();

  useEffect(() => {
    if (!isInitialized) return;
    (async () => {
      await messaging().requestPermission();
      const token = await messaging().getToken();
      await registerPushToken(token); // platform (ios/android) detected automatically
    })();
  }, [isInitialized]);

  return null;
}No public unregister method
Set config.enableNotifications: true on the provider. There is currently no public unregister method - if you need token cleanup on logout, track it server-side.
Troubleshooting
Bot not appearing / chat stays empty?
The three usual causes: the bot is not published in the dashboard (unpublished bots return no flow), the botId is wrong (a bad ID fails silently with an empty widget), or the device cannot reach https://wdt.conferbot.com (corporate proxies and emulator DNS are the usual suspects). Sanity-check with the public demo bot 691c970890527a0468f9b2c9 - if it loads, the problem is your bot configuration, not the SDK.
| Symptom | Fix |
|---|---|
| Socket never connects against a local server | Android emulators reach your host machine at 10.0.2.2, not localhost. Plain http:// targets require android:usesCleartextTraffic="true" (Android) or an ATS exception (iOS). |
| Sessions do not persist / offline queue does nothing | Install @react-native-async-storage/async-storage and pass it as config.asyncStorage. Without it these features are disabled by design. |
| Dashboard colors are not showing up | Server customizations arrive with the chatbot data on connect - if the socket is not connected, the default theme is used. Also note server values intentionally override local themes inside the drop-in ChatWidget. |
on('bot_response') never fires | Event names are kebab-case; use the SocketEvents enum (SocketEvents.BOT_RESPONSE = 'bot-response'). |
| Stale build issues after adding peer deps | Reset Metro with npx react-native start --reset-cache, then rebuild the native app. |
For local development against a self-hosted or staging server, override the endpoints before the provider mounts with ConferBotEndpoints.configure({ socketUrl, apiBaseUrl }) and restore defaults with ConferBotEndpoints.reset().
Resources
- GitHub repository - source, example app, and issue tracker
- Full usage guide (USAGE.md) - step-by-step tutorial covering analytics, reactions, read receipts, knowledge base, and the node flow engine
@conferbot/react-nativeon npm- Mobile SDKs overview - Android, iOS, Flutter, and React Native side by side